10 September 2018
3D Texturing using curvature maps.
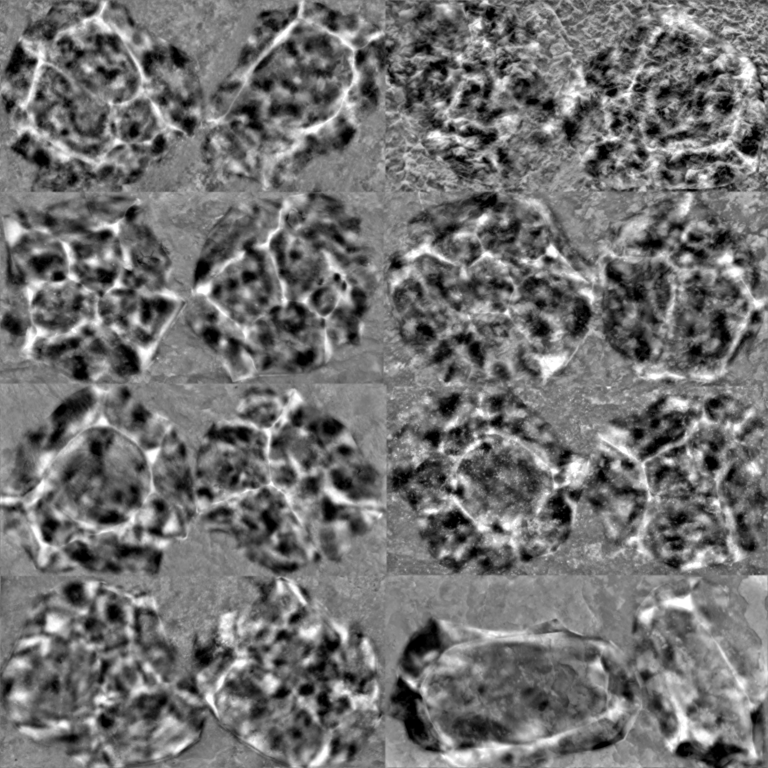
Using curvature maps is a great way of improving your diffuse/occlusion maps and potentially also other kind of UV maps. Im sorry if I’m not the most educated on this subject but I was very pleased with the final result. I decided to create eight meshes which I then unwrapped on a single 4096 by 4096 px image. Creating each map for all of the meshes and then combining them took a long time to complete. But the fun part was generating the curvature maps. In short the curvature map stores the convexity of the mesh in the Red color value, and concavity in the Green color value. Convexity of the mesh means the places on the model where the mesh is curving outwards. Concavity means basically the opposite so the places on the model where the mesh is “hollow”. In my case, only the Convexity was important because i wanted to outline the spots on the mesh where a lot of wear could occur. I only used the Red channel (convexity), and desaturated it. And used the white color to brighten parts of the diffuse map. I also applied this technique to the metalness map.
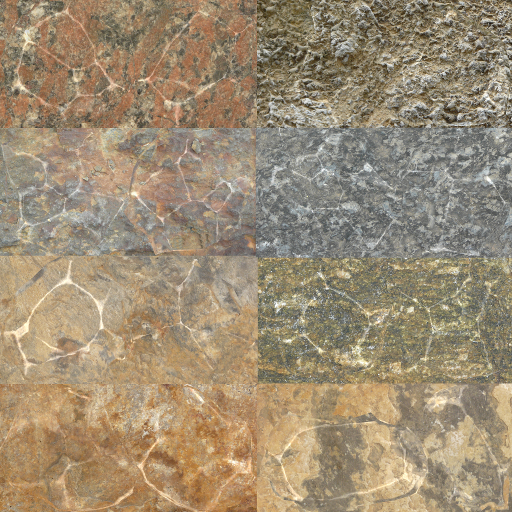

On the left the basic Diffuse map, on the right the Diffuse map with the convexity layer added.
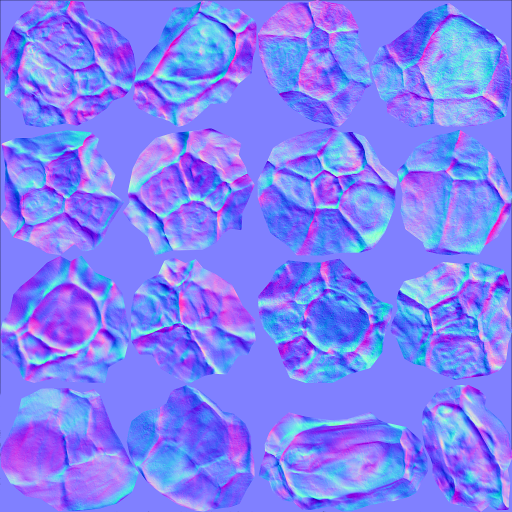
On the left the normal map and on the right the height map.
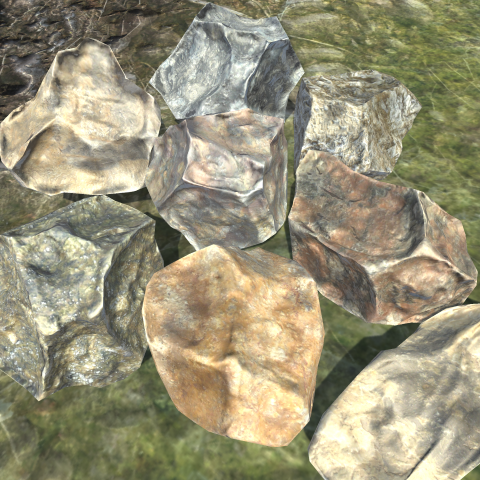
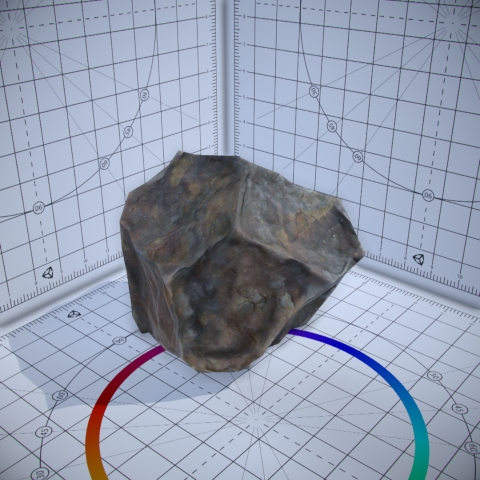
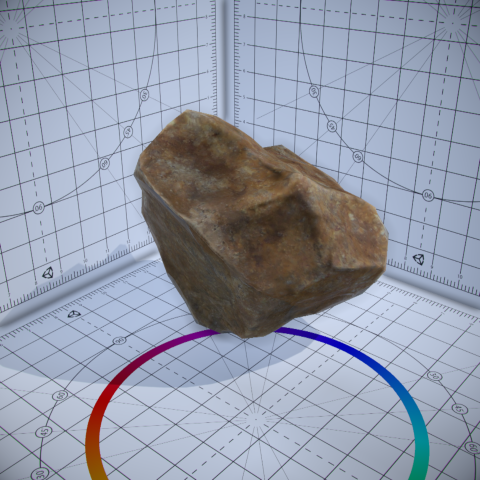
Final results:
Resources:
InformIT eBook Store
has a large number of ebooks on a wide range of topcis. I would definitely recommend them
Great courses:
Quickstart
offers a large amount of (online) courses on game development (
Use Code LSOFF50
to get 50% off ;p).