22 October 2018
ATC Manager 2 - Tutorial
All Tutorials
Intro Tutorial
Index
-
Starting
-
Giving commands
-
Landing
Starting
Start by selecting an area (default). You can leave everything on default except for the difficulty setting.
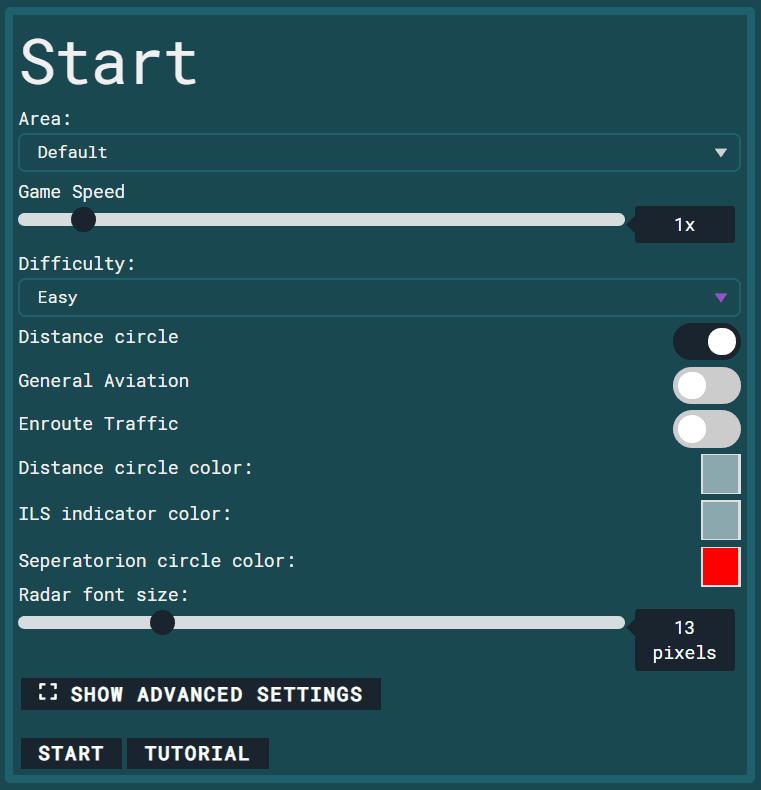
Press “START”. You will now see something like this:
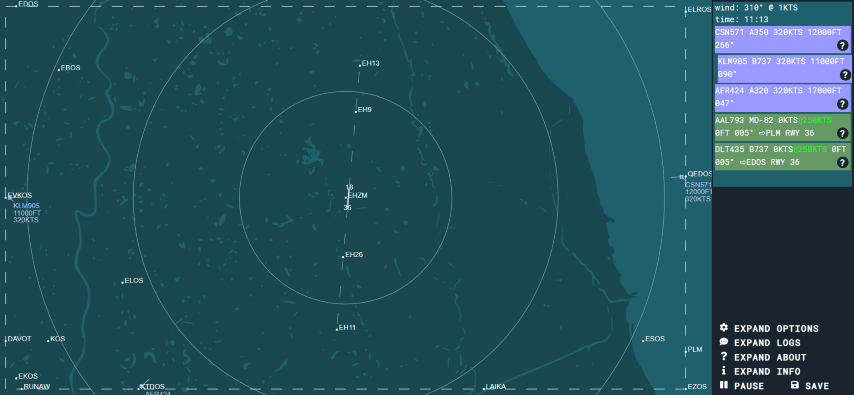
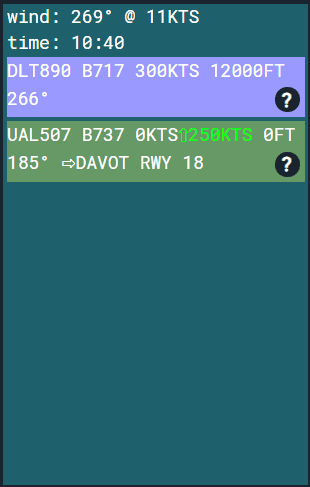
There are 3 elements on your screen. The radar in the middle is your overview. The panel in the top right (see image below) is a list of flight strips. These are all the flights you’re managing.
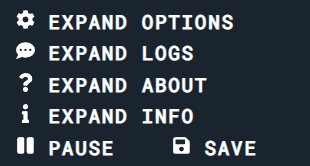
The buttons in the bottom right (see image below) allow you to pause, save, change optons, view logs and view information about your airfield and the game.
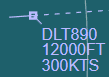
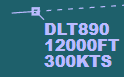
Every airplane on the radar screen has text next to it. It includes the altitude in feet or flight level and the planes airspeed in knots (wiki)(unit)). Flight level (wiki)) or “FL” is roughly one hundredth of a feet (12,000 ft is FL120). Flight levels depend on air pressure while altitude in feet references the altitude above mean sea level (MSL). Transition altitude (TA) is when airplanes switch over to using flight levels. This is usually 18,000 ft. You can view more information about an airplane by clicking the question mark on the airplane’s flight strip (see image below).

This opens a panel which includes information about the plane, like the operator, the callsign, airplane specification, etc.

If you click on an airplane in the flight strips list or on the radar screen the airplane becomes highlighted.
A fourth element will appear on your screen. The “commands” panel (see image below).

This can be used to give airplanes commands. Like the airplanes direction (heading), it’s altitude, speed, and other commands like “go-around” and “takeoff”.
Giving commands
Let’s start by changing the airplane’s direction. As a reference let’s look at this compass:
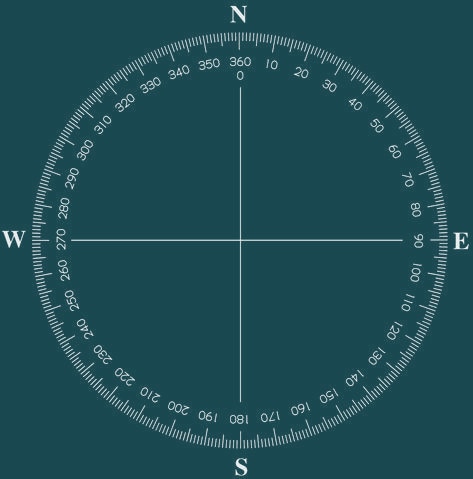
Every direction is given in degrees. There are a total of 360 different directions. 0 or 360° is north, 90° is east, 180° is south and 270° is west. Let’s change heading to 180° (south).
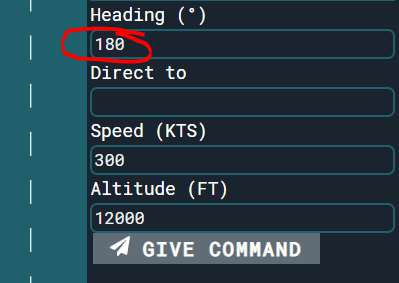
Then press the “GIVE COMMAND” button.

You will notice the airplane slowly turning to left until it reaches a heading of 180°.

You can do the same thing for the “Direct to”, “Speed” and “Altitude” boxes. The reason the airplane was turning so slow is because it’s still flying at cruise speed. Let’s lower it’s speed to 270 knots. The knot is a unit of speed equel to one nautical mile per hour, exactly 1.852 km/h and approximately 1.15078 mph(wiki)(unit)). After you’ve changed the speed box to “270”, press “GIVE COMMAND”. You will notice a red arrow pointing down next to the airspeed. This means the airplane is reducing it’s speed.
Landing
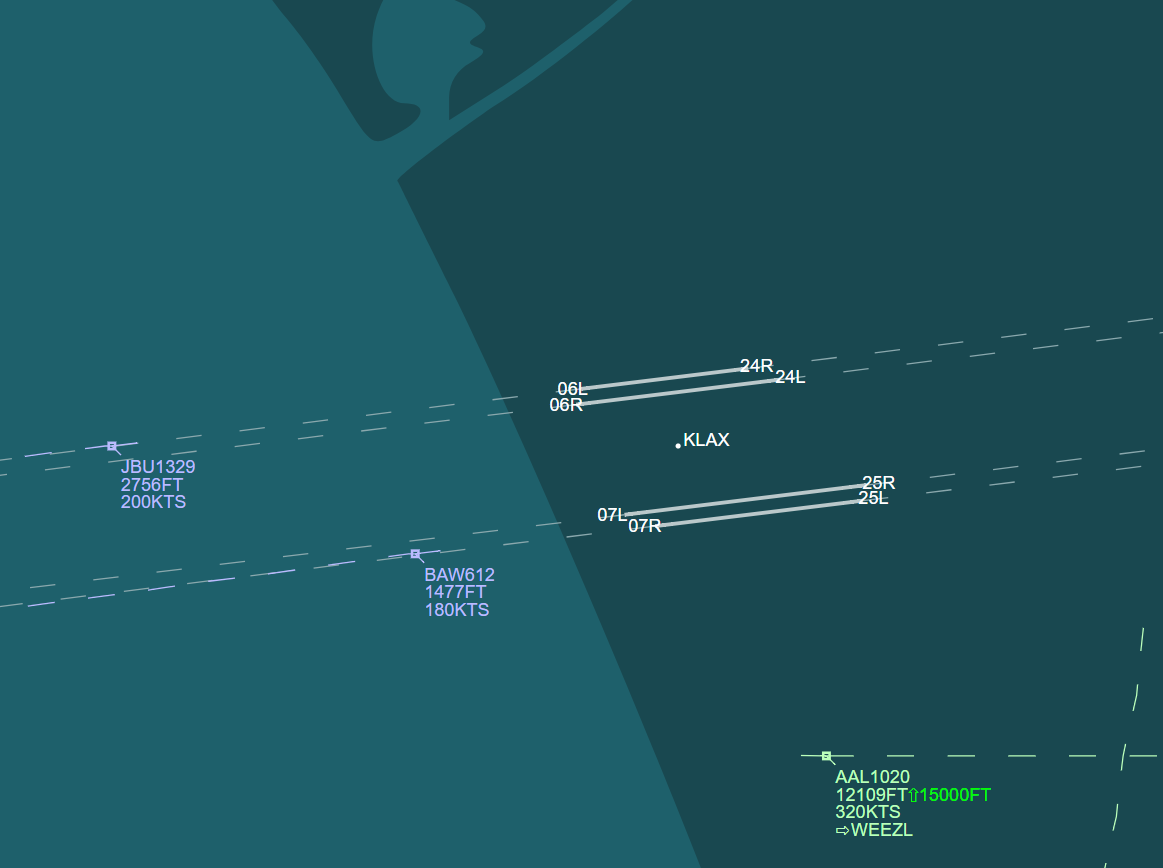
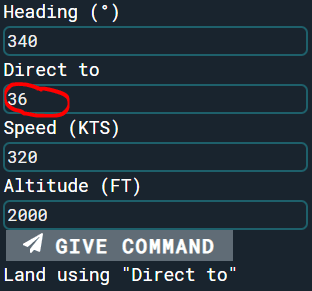
To land an airplane you first have to line it up with the runway (see image below), it has be less then 3200 feet above the airport and has to flying in the general direction of the runway.
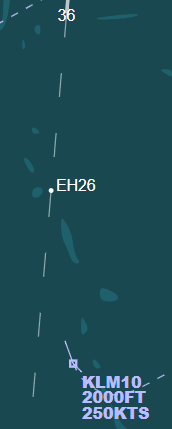
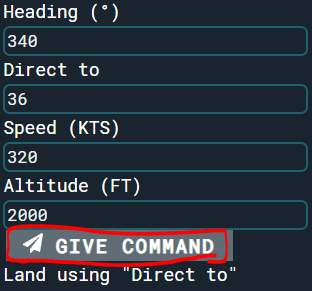
If this is all correct, you will see the message, “Land using ‘Direct to’”, under the “GIVE COMMAND” button. Select the runway in the “Direct to” input box.
Then click “GIVE COMMAND”.
Hopefully you know how to start. If you don’t or you have a question,visit the subreddit(unit)). If you want to continue learning, you can check out more tutorials by clicking the “All TUTORIALS” button below.
Resources:
InformIT
eBook Store
has a large number of ebooks on a wide range of topics. I would definitely recommend them.
Great courses:
Quickstart
offers a large amount of (online) courses on web development (Use
Code LSOFF50
to get 50% off ;p)